Sprinkler Tune-Up, Fix-Up
There are many sprinkler repairs you can easily do for yourself. Each spring a friend and I grab a bunch of cheap wire flags from the hardware store. We run every station and check every head of our system to see what repairs will be needed.
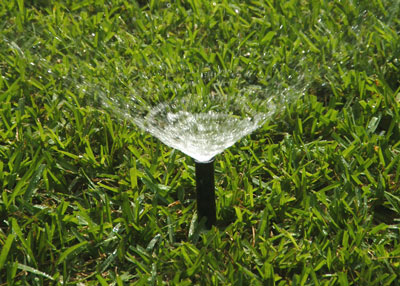
Pop-up head still functioning perfectly in Sperry lawn after 35 years.
The good news in all this is that I can save scores of plants and hundreds of dollars with these quick and easy fixes. Unless you have limited mobility, there’s not one of these things that I’ll mention that you can’t do for yourself.
You’ll likely have major repairs that need to be addressed as well, and for those you’ll want a licensed irrigation contractor. But the ones I’m going to mention amount to little more work than changing a light bulb.
• Broken heads. Sometimes squirrels chew on sprinkler heads seeking water. Mowers and trimmers hit them. Dogs chew on them for no apparent reason. Water freezes in them and bursts them. My bet is that you’ll have 6 or 8 heads that need to be replaced.
Important: Make note, before you remove heads, of their brands, model numbers, distance of throw and percentage of a full circle that they cover. Those will often be embedded in the plastic showing 45, 90, 120, 150, 180, 270 or 360 degrees of coverage. You need to match what was there originally. I’d suggest taking photos and notes, but leaving the old head in place until you bring in its replacement.
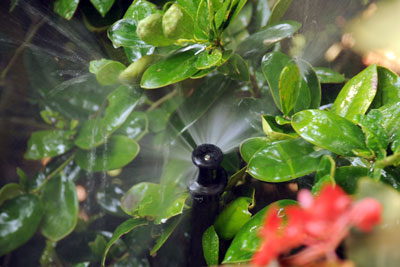
This head needs to be (1) cleaned. It looks like it needs to be (2) realigned – it’s spraying in a cockeyed direction. And it needs to be (3) elevated.
• Blocked heads. Look for new growth from shrubs or groundcovers that might be keeping a head from providing its intended coverage. Some plants will go dry, while others will become soaked to excess. You can either trim the twigs and new growth, or you can buy short 6- or 8-inch extenders that will raise the heads above the foliage.
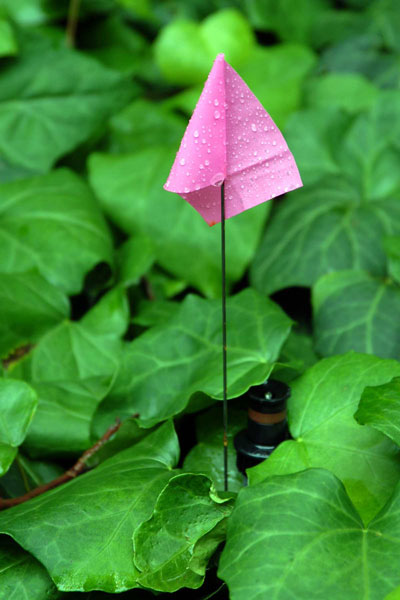
Follow the wire stake down into the ivy. Why, there’s a sprinkler head down there! It needs an extension so it will pop up higher to clear the foliage.
Grass sometimes gains thickness over the years, growing deep enough that heads don’t rise to clear it. Once again, you can remove the entire head (if it’s not running, it won’t be under pressure) and insert a short nipple to raise it by the appropriate amount.
• Dirty strainers. Even though we’re careful in all of our sprinkler work, tiny pebbles, sand, silt and leaves still manage to creep in. That’s why most sprinkler heads have some sort of removable strainers. In most cases, when you remove the head from its riser, the strainer will fall out in your hand. Have a bucket of clear water to swish it around until it’s clean. I like to turn the system on for a 3-count, so that the fresh water will shoot up out of that riser, thereby cleaning any further debris.
A couple of doable, but more challenging repairs…
• Broken pipe. Usually it’s the glue joint that has come loose. Maybe it wasn’t carefully assembled in the first place, or perhaps it’s taken a beating from traffic, the pressure of growing roots that are adjacent – any of many possible challenges. When you see wet spots that are away from any heads, that means there’s something broken. If it’s on a slope, trace the wet soil back to its origin. When you find the source, start digging to locate the problem.
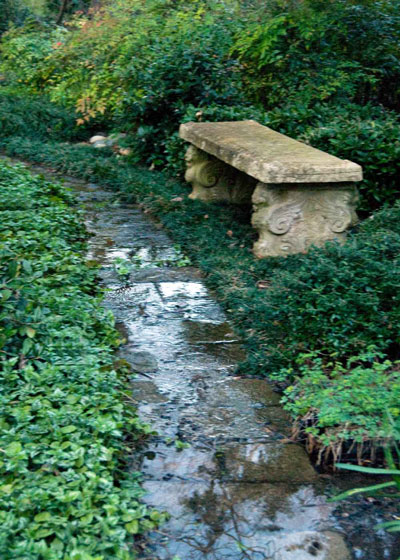
At first it looked like a lovely water feature in our landscape, but then I realized, “Wait! There’s no water feature there. That’s a major broken line.”
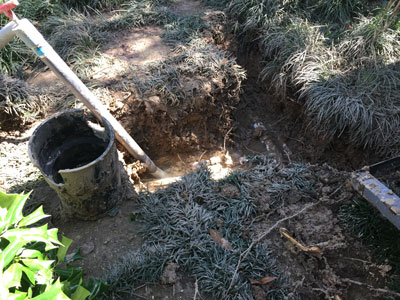
The broken pipe for the leak just above was 50 feet up the hill and out of sight. That was lucky, too, because this turned out to be a really difficult repair.
Once you know where the issue is, turn the water meter or main valve “off” and drain the system. Pipes must be dry to get good glue joints. Use a hacksaw to remove the broken pieces. If it’s in a complicated joint (as mine always seem to be), remove any part that will be hard to reuse and take it to the hardware store with you. Have a specialist familiar with pipes and fittings help you. You’ll need all of the parts you took to the hardware store with you, plus connections to hook the new parts back into the system. Buy small, fresh cans of primer and glue, and have a few extra rags on hand to keep everything clean and dry. It also helps to have a few feet of the same size of pipe you’ve been cutting as well as a few 90-degree elbows and a cap or two. If you don’t use them this time, you will some other time.
• Stuck valve. That debris we talked about clogging strainers earlier can also get caught in valves and keep them from sealing. It’s especially likely as gaskets age and become even slightly brittle.
However, this one can be a little bit tricky. The valve that is causing the problem may actually be 75 feet away from the wet spot. Water will dribble out by gravity at the lowest head on that particular station. But the leak may not be anywhere nearby. This is when you really need the original installation plan for your system – the one showing the locations of valves. If you don’t have it, you’d probably be better advised to contact your irrigation contractor and ask them to help you locate the valve and solve the problem. You will have saved enough on the other repairs to justify calling in a pro to help with this one repair.
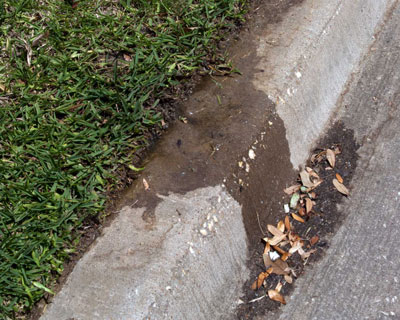
Water was pouring down the street before this new leak in a commercial landscape was repaired. It was due to a stuck valve 40 or 50 feet up the hill. Water was leaking out of the lowest head in the station.
In case you do want to do this repair yourself, have the water turned off as you disassemble the value. Remove the gasket and see if there is any visible impediment or damage. As inexpensive as gaskets are, just buy a replacement. Reassemble the valve, and turn the pressure back on. Watch for an hour or two to be sure the leak has been stopped, then cover the valve up again. Or, if the leak persists, you may need to buy a new valve entirely. They aren’t that expensive, but replacing them and wiring them back into the controller – you may be ready for that professional help.