Transplanting Time
Sometimes we have trees and shrubs that need to be moved because we’re remodeling our house or moving the driveway. Sometimes we spot a plant out in nature and want to move it into our landscape (with permission, of course).
I had a 30-year-old Catawba crape myrtle that was growing in full sun when I planted it. But that bed is now totally shaded, so we decided to move it to a better location. That was done in 2013, and it looks better each year.
Tips to Transplanting Success:
• Make the move when the plant is dormant. For most woody plants, that will mean in mid-winter (late December through early February).
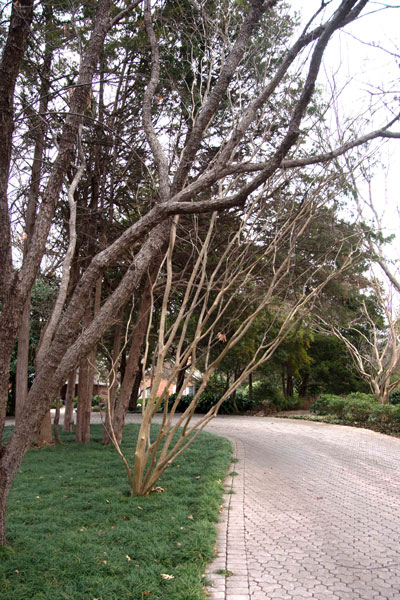
Photo: My beloved Catawba crape myrtle had nowhere to grow. I either needed to move or remove it. I chose the former.
• Be patient. Digging a plant isn’t a job where you’d want to rush.
• Work when the soil is moist. It’s easier for digging, and the soil ball holds together much better. If you have to water to moisten the soil, do so deeply, then wait a few days before you start digging.
• Determine the size of the soil ball. For a 1-inch diameter trunk, the soil ball should be 14 or 15 inches in diameter. For a 2-inch tree, aim for 18 to 20 inches. For a 3-inch tree, 24 inches across and deep. If you’re moving shrubs with multiple trunks, add their diameters together to figure the size of the soil ball. Larger plants should be left to commercial diggers.
• Use a sharpshooter spade or nursery spade to cut the roots carefully. You’ll also need lopping shears and a pruning saw for larger roots. Cut them cleanly; don’t chop at them. It’s usually easiest if you dig a 4- or 6-inch trench around the eventual soil ball to give you some working room.
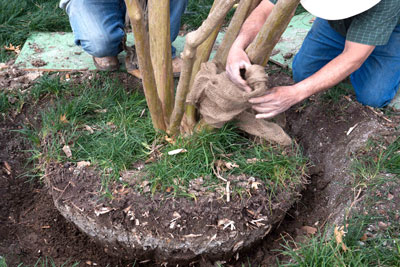
Photo: We’d cut the trench and severed the roots. The soil ball was firmly in place. (One good thing about heavy clay soil) The plant was ready to lift.
• Wrap the soil ball tightly in burlap. Pin it together with nails. You can probably find demos on You Tube. In our case, since the soil was holding together quite well, we dig not use burlap.
• Lift the soil ball with a sling made out of burlap. All lifting should be done by holding the soil ball, not by pulling on the trunk.
• It may help if you dig a ramp up and out of the hole so you can gently pull the plant up to the surface.
• Transport the plant carefully to its new home. Dig a hole the same depth as needed to accommodate the soil ball (no deeper than necessary).
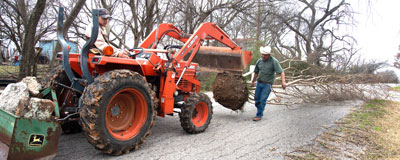
Photo: This soil ball was very heavy. Notice the counter-weights the crew used to maintain balance.
• Set the plant into the hole carefully at the same depth at which it had been growing. Tamp the loose soil with a hoe handle and water it to settle it completely. Add soil as needed to fill in around the soil ball.
• Use the extra soil you removed in the process of digging to form a donut-shaped berm around the outside of the hole. I prefer this to the bags made to be positioned around trees’ trunks.
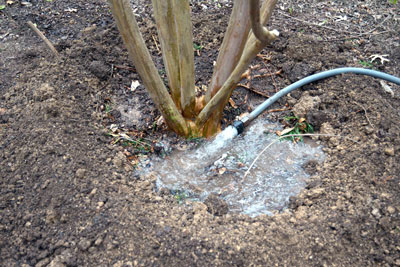
Photo: With berm in place to retain water, we soaked the tree deeply to drive out all of the air.
• Stake and guy the trunk to keep the plant vertical (more important with trees than with shrubs). Use three stakes located south, northeast and northwest of the trunk. The cables should extend to the mid-point of the trunk, and you’ll want to pad the trunk to prevent them from rubbing through the bark. Leave them in place for 18 to 24 months and keep the cables taut.
• Thin the plant out to compensate for roots that have been lost in the digging.
• Apply a liquid root-stimulator monthly for the first year. The plant will be establishing new roots. Top growth will be sluggish at the outset. That’s normal.
• Finally, apply paper tree wrap to the trunks of newly planted red oaks, water oaks, chinquapin oaks and Chinese pistachios. The wrap will protect against sunscald and borer invasion. As far as I’m concerned, it’s non-negotiable. We did not need it for our crape myrtle.
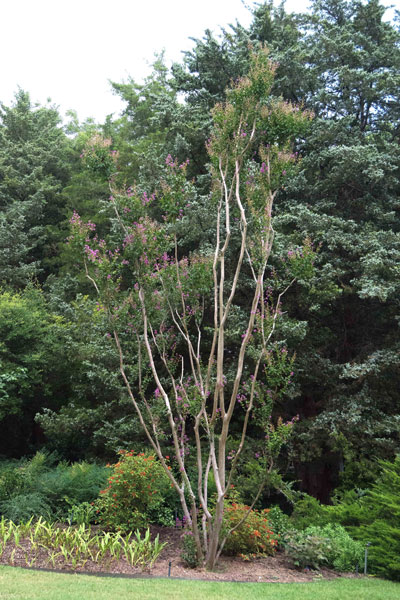
Photo: The newly moved crape myrtle managed to scare up a few blooms that first summer. It’s gotten more and more vigorous. The work was definitely worthwhile!