Mailboxes…the garden multi-taskers
Years ago a gardening friend painted a mailbox green and then installed it by the path to her backdoor. To signal a note left inside or a “special delivery” of seeds or cuttings, friends put the flag up. Sometimes, my plant-loving pal used the box to hold her garden gloves.

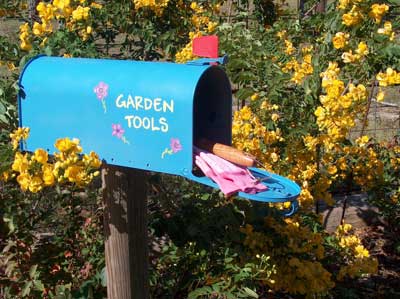
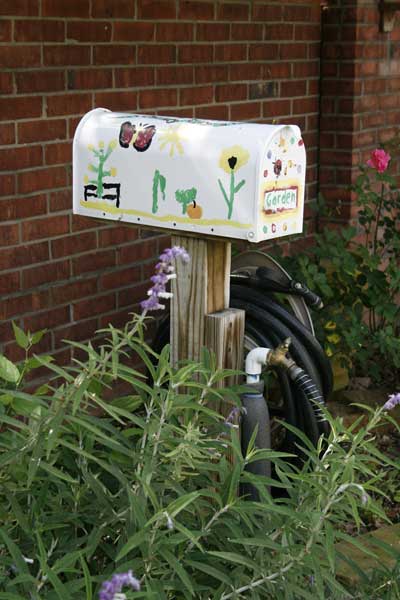
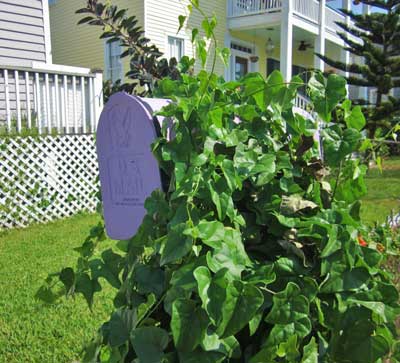
Now, as then, when you put a mailbox in the hands of a gardener it can serve as a message exchange center, delivery station, or garden tool box. Painted, garden-themed mailboxes are expressions of creativity. They provide points of interest. When personalized with a friend’s name, they make a useful and appreciated gift.
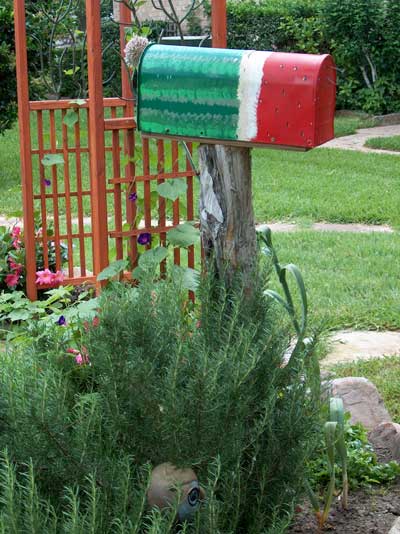
Turning a mailbox into a functional and decorative garden accessory is fun. Mailboxes are durable, rainproof, and inexpensive. They are readily available at big box stores, hardware stores, and do-it-yourself centers. Used mailboxes are easy to find at garage sales and flea markets.
Whether you want to snip herbs for dinner, cut a bouquet, or leave a packet of seeds for a friend, garden mailboxes make the task easier.
But keep the door closed, if you leave it open you might end up sharing the mailbox with a nest-building wren.
Mailbox makeover tips
Getting started is easy. You can design, paint and install a garden mailbox in a weekend or less. Here’s how.
Materials and supplies
–Standard size metal mailbox
–Sandpaper (fine or medium grade) and a soft rag
–Stencils and soft-leaded pencil
–Spray paint (exterior, for metal)
–Craft paint
–Small craft brushes
–Mailbox post and tools for mounting the mailbox
Step 1. Start by using sandpaper to lightly roughen the mailbox’s smooth finish. If recycling a used mailbox, remove rust, loose paint, and dirt. Wipe the mailbox with a soft rag to remove dust and residue.
Step 2. Temporarily remove the flag or mask it with tape, plastic or foil. Use sweeping motions to apply two or three thin coats of spray paint. Allow the paint to dry between coats. Paint both sides of the door.
Step 3. Once the base paint has dried use craft brushes to add lettering, flowers or a colorful pattern. Either freehand the letters or trace them from a stencil. Let each color of paint dry before adding another.
Step 4. Mount the mailbox on a post, landscape timber or fence.