Grow Your Own Pineapple
When I was a kid growing up in College Station, plants were about the only thing I thought about. Oh, I did well in school, and I had a few dates, but you were more likely to find me poring over nursery catalogs and wandering through my gardens than anywhere else.
Imagine when I read that you could use the top off a grocery store pineapple to start a new plant, and that you could bring that plant into flower and fruit right there at home. I had to give it a try.
Here’s how I did it…
(and, you can, too)
If you’d like to try your hand at growing your own fruiting pineapple, here are your step-by-step details.
1. Assemble the raw materials. (All of these are recycled. Net cost should be just about zero.)
• Pineapple top (fresh and green with 1 inch of the fruit still in place) after you’ve eaten the pineapple.
• 8-inch used flowerpot (I prefer clay because of their added weight – pineapple plants are heavy.).
• Enough really loose, highly organic potting soil to fill up the pot. If you insist on the recycling thing, you can re-use soil out of a patio pot or hanging basket.
• One used dry cleaner’s plastic bag;
• One large, soft rubber band; and
• One apple (eat the apple, save the core) – but this step comes later.
2. Allow the pineapple top to dry on the counter for 1-2 days.
3. Holding the top by its leaves and pretending the top of the fruit to be its roots, pot it into the 8-inch pot. Use the loose, highly organic potting soil. Firm the soil around the top of the fruit (“roots”).
4. Water the soil thoroughly. Press the soil to pack it around the pineapple firmly. Add more soil as needed and water one more time. Be sure the pineapple top extends out of the pot vertically.
5. The plant will develop roots and start to grow. Give it bright light, but preferably not full sunlight in summer. Do not allow it to freeze come winter. As it grows, feed it with a high-nitrogen, water-soluble plant food. Its new leaves will be much longer – to 18 or 20 inches. They will have serrated edges.
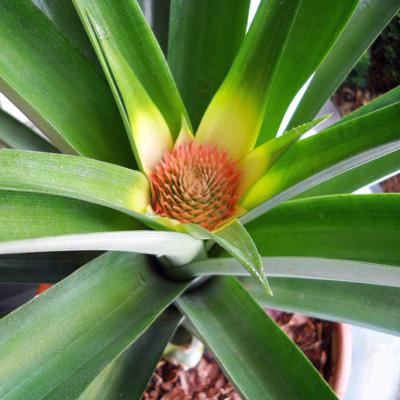
6. After it has grown for 8-12 months you can try forcing it into bloom. Water the plant thoroughly. Carefully position the apple core down in the center of the plant’s leaves. Enclose the plant and pot with the dry cleaner’s bag. Be careful not to poke holes through the plastic. You may want to use a double layer.
As the apple cores decay they give off ethylene gas, and that triggers the flowering process in bromeliads like pineapples.
7. Place the plant, wrap and all, in a bright spot that’s out of direct sunlight.
8. Keep it covered for 6-8 weeks. Open it up and replace the apple core every couple of weeks.
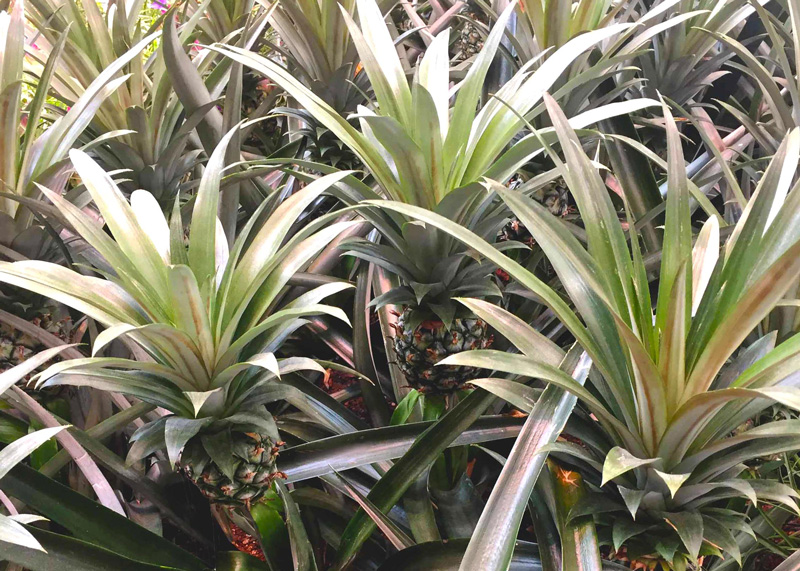
9. As the fruit develops it will grow to be the size of your fist.
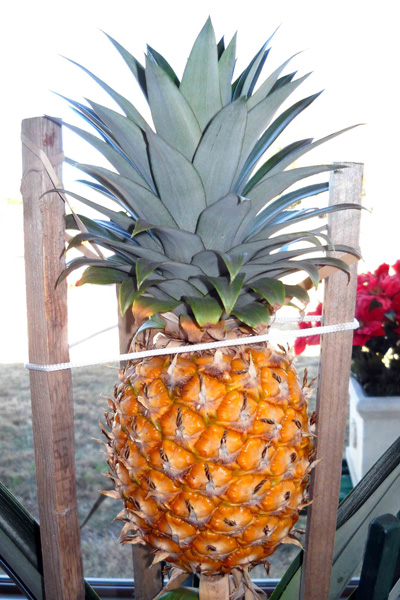
10. Once it takes on a rich golden shade and as it begins to be slightly soft to the squeeze, it will be time to take photos, then to harvest and eat it.