October’s painted ladies – by Diane Morey Sitton
You’d think that pumpkins were decorative enough the way Mother Nature made them. After all, they are as plump as a harvest moon and as colorful as autumn foliage. But if the eerie sights and sounds of the season take hold of your imagination, and instead of pumpkins you visualize goofy goblins, pale prima donnas or Barbie herself, it’s time to get out the paint.
Painting a face on a pumpkin is easier than carving a face—you don’t need experience or special tools—and chances are you already have most of the craft supplies on hand. Not only that, the internet is full of stencils and examples of pumpkin faces to help you create that perfect character.
Usually, folks select large orange pumpkins for face painting. But why stick to tradition when boxes, bins, baskets and wheelbarrows at farmers markets, pumpkin patches and nurseries are overflowing with white, peach, blue, gray and creamy yellow pumpkins in various sizes and shapes!
Begin the project by covering the working surface with plastic or newspaper. Gather supplies including a washable marking pen, soft rags and/or paper towels, a foam plate to use for paint mixing, a small bowl of water, acrylic paint (including black and white), a can of clear sealant, and a pumpkin. Wipe the pumpkin clean using a damp rag.
Using a light touch, sketch in the eyes, nose and mouth. If you want to make changes, wipe off your outlines and start again. Light colors painted on dark pumpkins may require two coats. Let the first coat dry before painting the second coat. Luckily, acrylic paint is water-based, so if you make a mistake, simply wipe it away.
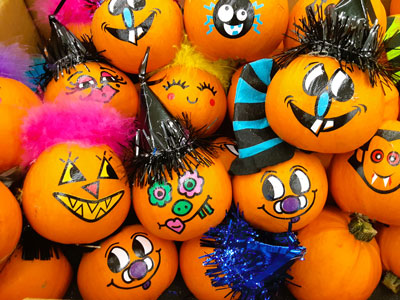
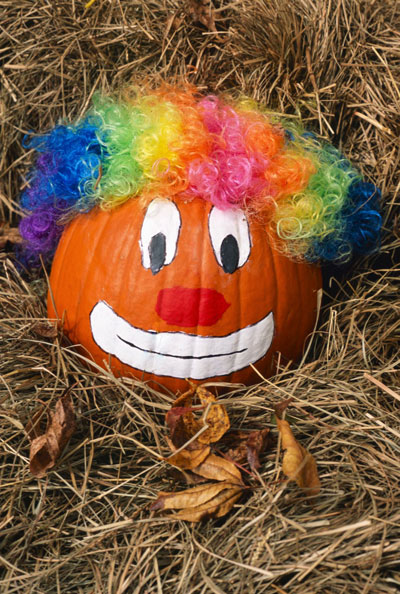
Tips from pumpkin face-painting pros suggest making the eyes big and bold. Eyes can stare straight ahead or gaze in different directions. One eye can wink. Eyes can be round, oval, or triangular. Enhance the expression with eyelashes and eyebrows.
Create a nose by painting a circle, triangle, teardrop or upside down heart. Celebrate the season by painting a nose to look like a piece of candy corn.
The mouth, like the eyes, should express emotion. Paint an “o” to represent surprise or fright. Use a wavy line to suggest a goofy personality. Give the pumpkin a big toothy smile or buck teeth. Add a splotch of pink to create cheeks.

The pros also suggest accentuating each feature by outlining them with black paint. Once the paint has completely dried, spray the entire pumpkin with two coats of clear sealant. Allow an hour between coats.
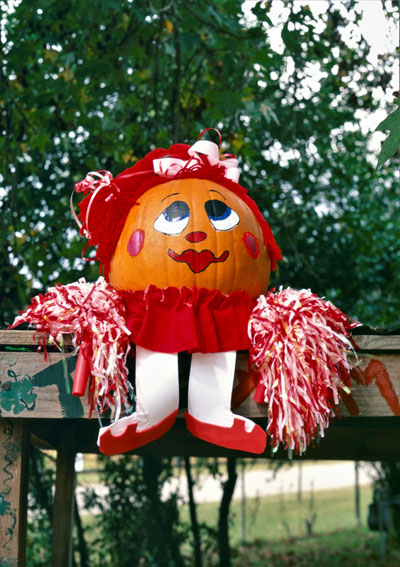
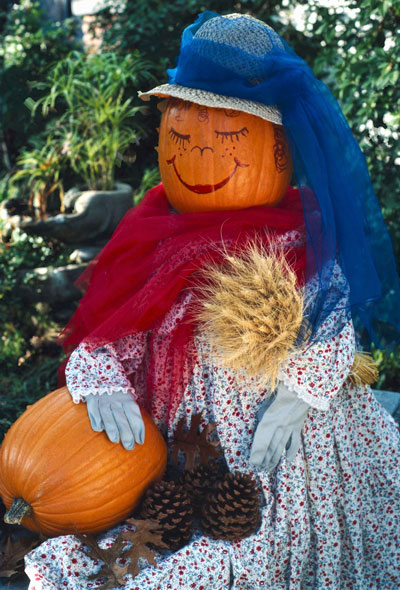
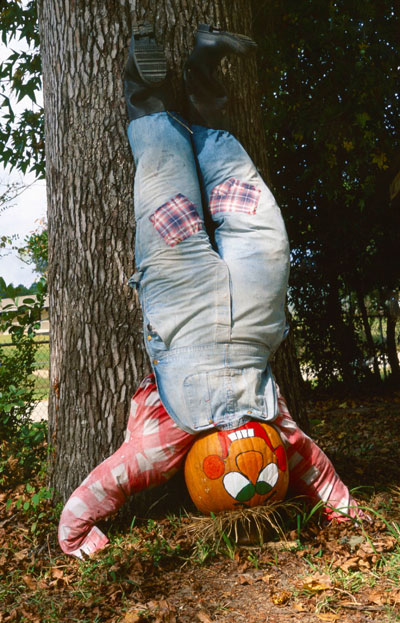
Once you’ve completed painting a face, accessorize your character with a hat, glasses, scarf, and hair made from a wig, worn out mop, moss or shredded fabric. Display it as a centerpiece or showcase it on a porch or patio. Better yet, use the newly painted pumpkin personality as the head of a scarecrow!
The brisk air, colorful foliage, and pumpkins in all their flamboyant colors and intricate textures: no doubt Mother Nature loves the season!
But why let Mother Nature have all the fun. There’s paint and enough magic in the air to fire the imagination. So grab a brush, and let’s get started.