Signmaking … in your own words – by Diane Morey Sitton
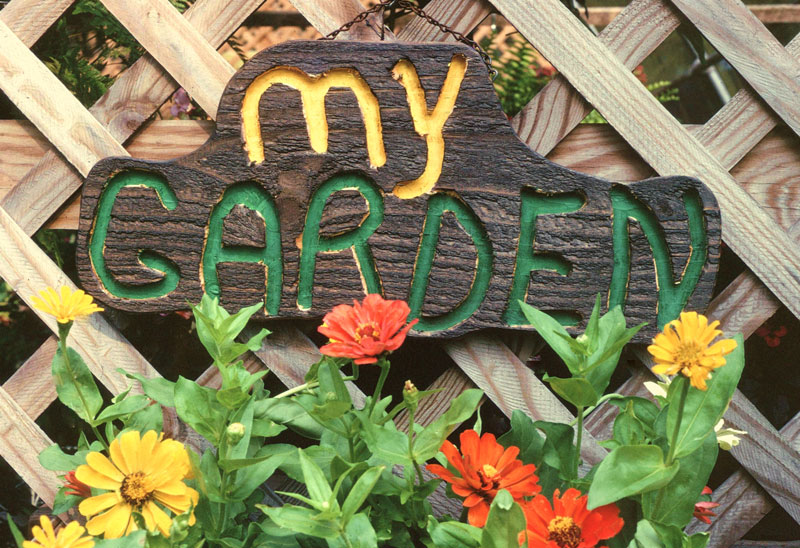
As if the language of flowers wasn’t expressive enough, gardeners rely on signs to identify plants, relay messages, and impart inspiration. Like the flowers and foliage around them, the signs themselves add color, create interest, and reinforce themes, especially when they are one-of-a-kind handcrafted creations made for your own garden.
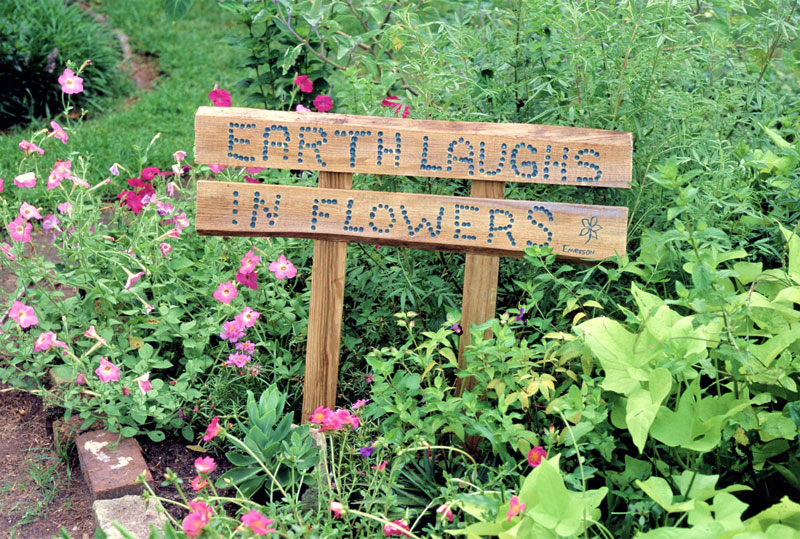
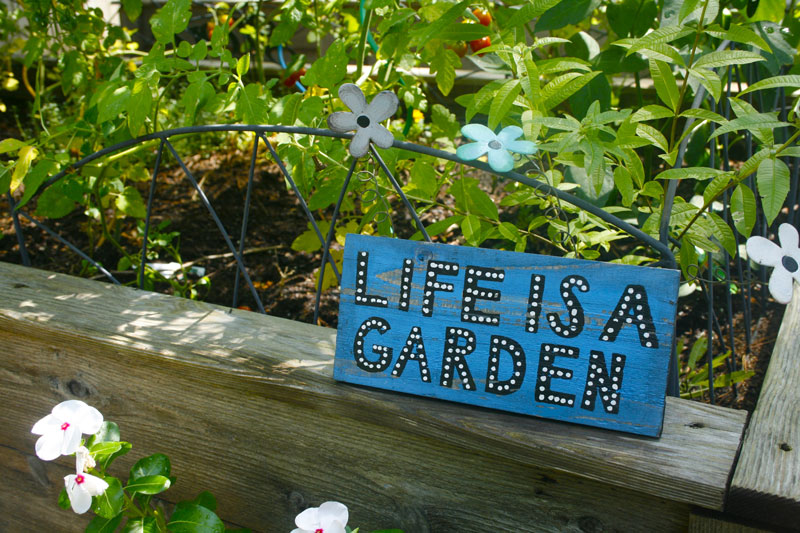
The messaging starts in kitchen gardens where signs earn their keep by identifying herbs and vegetables. Placed near drifts of nectar-rich flowers, a sign announcing “Butterflies welcome” identifies butterfly zones and provides a perch for the ephemeral creatures. In gardens that twinkle with lights, the message “Fairies and fireflies welcome” increases the magic.
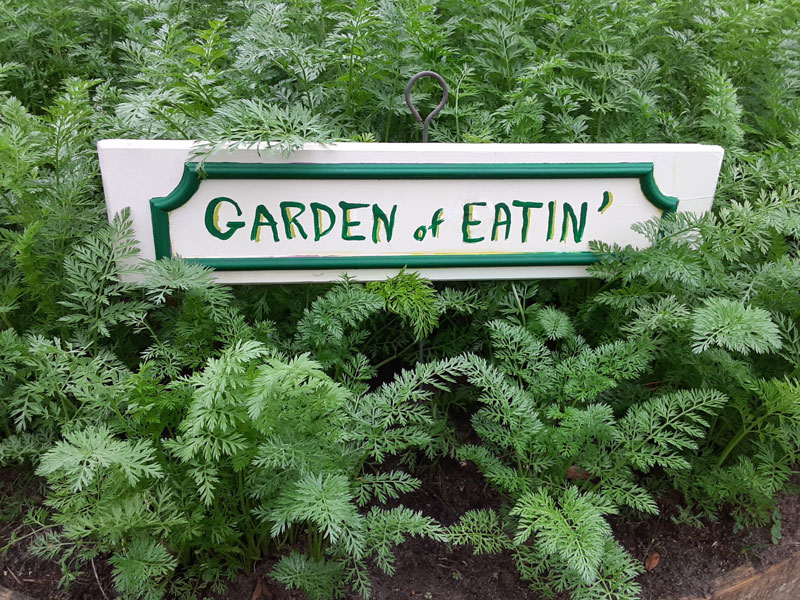
From vintage tools to glass bottles, from bits of tile to scraps of lumber, the immense array of sign-making materials not only sparks creativity, but helps reinforce garden themes. Whether painted, engraved or embossed, lettering techniques add flair and personality to sign-making, as well.
Use the ideas below as starting points for crafting your own garden signs.
• Place terra-cotta pots upside down on stakes. Small sizes work best. Use permanent markers to write the names of herbs and veggies on the pots.
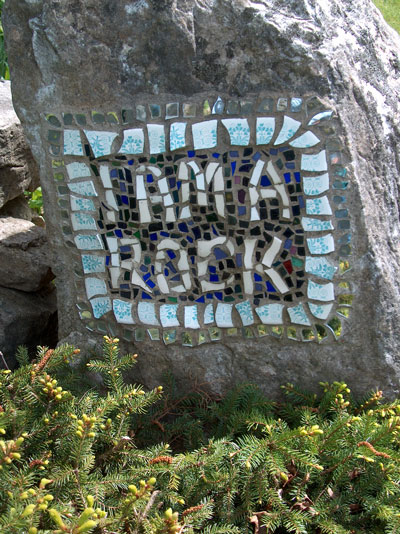
• Arrange small pieces of tile, glass and china to form letters on a rock or boulder. Complete the mosaic with grout.
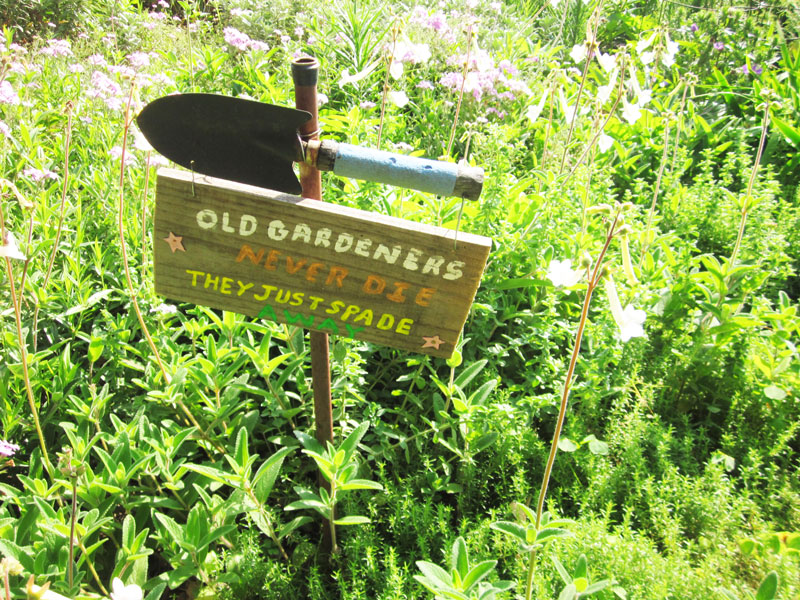
• Hand letter a message on a discarded shovel.
• Paint plant names on colorful bottles. Suspend the bottles over stakes or pieces of rebar.
• Write a message by gluing craft marbles (flat on one side) onto a painted board or a salvaged window.
• Cut scrap lumber to sign-size. Carve letters using a router. Paint the channels. Use exterior grade paint for long-lasting hand-painted letters.
• Snip branches into short pieces to form block letters. Use tiny nails to configure the letters on a painted board.
• Paint a message and garden scene on an old window. Hang the window on a wall.
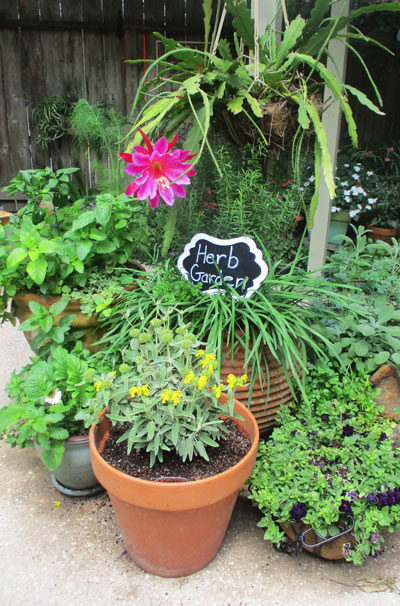
• Write a message with chalk on a smooth piece of slate or display a chalkboard.
Handcrafted signs are expressive, decorative and fun to make.
Let’s get started!
