Messaging with old-fashioned charm – by Diane Morey Sitton

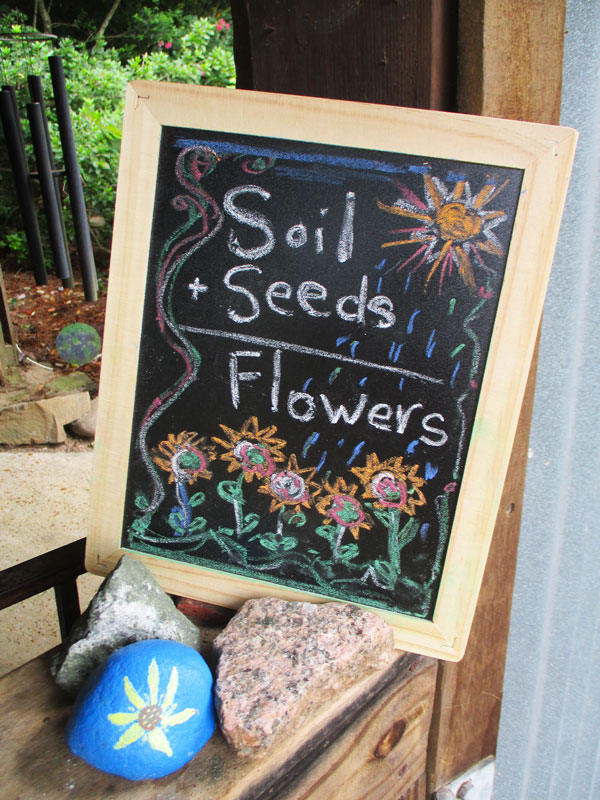
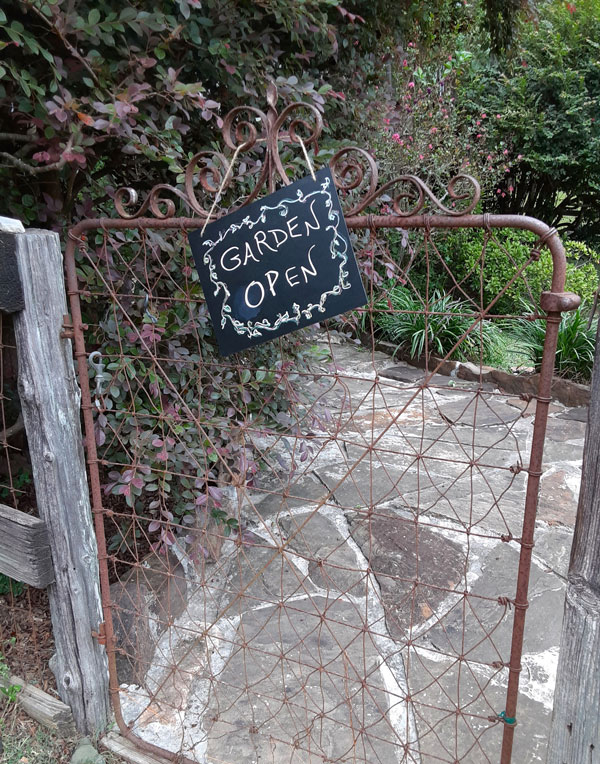
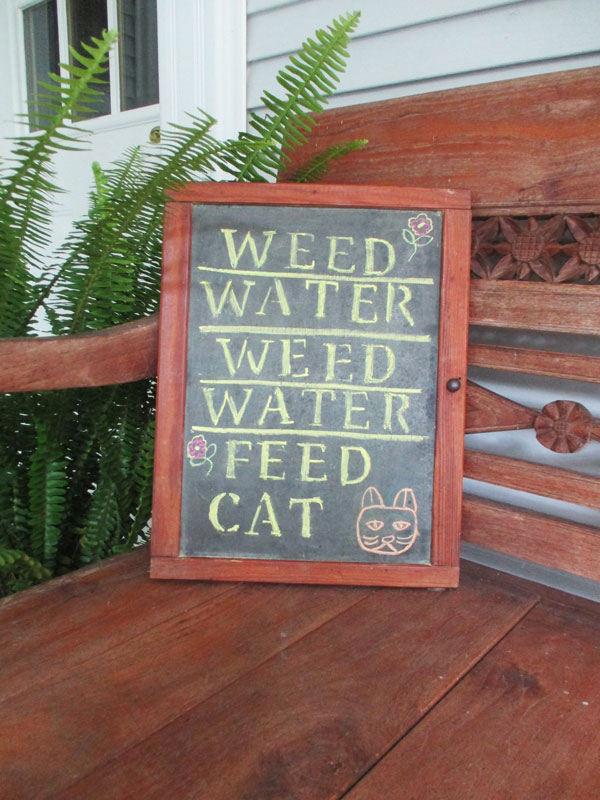
Who would have thought that blackboards would someday find their way onto covered patios, porches and garden rooms! But unlike the lessons in spelling, math and other subjects that covered the blackboards of yesteryears’ schoolrooms, gardeners’ blackboards flaunt rhymes and musings, not to mention primitive drawings of all things garden.
But the messaging isn’t the only difference.
Times have changed and so have blackboards. Originally, blackboards were made of black slate, a non-porous, fine-grained natural material that was cheap and reusable. In the 1960s, companies began offering improved blackboards, i.e., steel plates coated with green porcelain-based enamel. The new boards were lighter, easier to handle and less fragile than slate. It wasn’t long before folks replaced the term “blackboard” with the term “chalkboard.” Whiteboards and dry-erase markers were ushered in during the late 1990s when it became apparent that chalk dust affected computers.
Luckily, for those folks who crave the nostalgia of old-timey slate blackboards and who welcome the challenges of “designing” with chalk, supplies are readily available online, at hobby shops and at dollar-type stores.
Priming the slate board is the first step to creating a sign. Simply turn the chalk sideways and rub it over the board in an up and down motion. Then repeat the process, but use a side-to-side motion. Wipe the board clean with a dry microfiber cloth. Priming a slate board makes it easier to write on and helps prevent “ghosting” when you need to erase.
Next, sketch your design on a sheet of paper. Work out balance and proportion. Mix type fonts. Experiment with decorative borders. Once you’ve worked out the particulars, transfer the design onto the blackboard. Add interest and depth by using colored chalk. For fine detail, carefully sharpen the chalk in a manual pencil sharpener. Draw in the border last.

For minor touchups, use a damp Q-tip or pencil eraser. Never “clean” a blackboard using water. (Frequently clay is used as a binding agent in chalk. When you add water, the clay can dry and harden in the pores of the board.) Usually a felt eraser or microfiber cloth will wipe the board clean.
Obviously, rain or dew damages chalk designs, so display your art on covered porches and patios. To temporarily protect your design from moisture or smudging, gently spray with alcohol-free hair spray from 10-12 inches away. The benefit of not sealing is that you can easily change your sign from season to season and from one special occasion to another.