Kings of the begonias
I’ve been a begonia fanatic since my earliest days in the garden. Wax begonias outdoors. Angel wing types in their scores of forms in pots. Rex (and rhizomatous) begonias in the greenhouse.
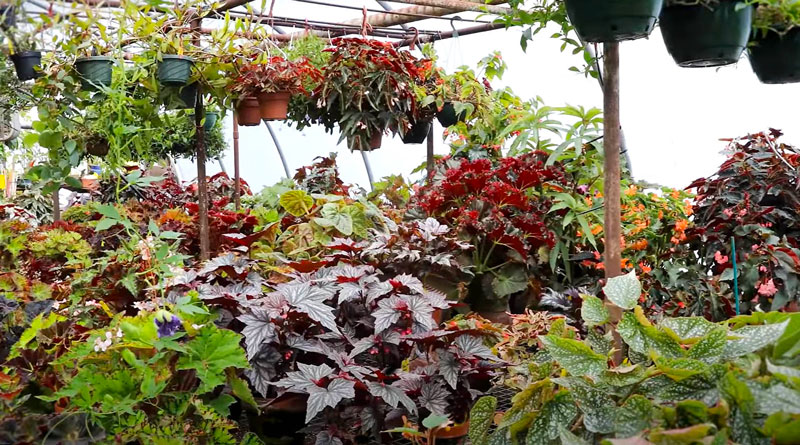
When I bought my used 30X60-foot commercial greenhouse to use as a hobby house 35 years ago, one of the first crops I grew was Rex begonias.
Knowing I finally had my chance to raise my own Rex (and rhizomatous) begonias, I contacted a friend in the Garden Writers Association who worked at Logee’s in Danielson, Connecticut, and asked her to choose 300 varieties that would do well in Texas conditions.
She really did me right. Not only did many thrive, but they soon outgrew my 8-inch flowerpots. I ended up with many of them in 3-gallon nursery pots. We used them in the summer in our shady landscape, and I grew many of them for 25 years until a malfunctioning valve on my greenhouse heater put me out of the begonia business one cold winter night. But I’ve plunged back in with several new plants. I don’t think I’ll ever be completely without my begonias.
Rex begonias…
Here are facts you’ll want to know as you try these great plants yourself.

• Scientific name: Begonia rex-cultorum
• Native home: Northeastern India, southern China, Vietnam
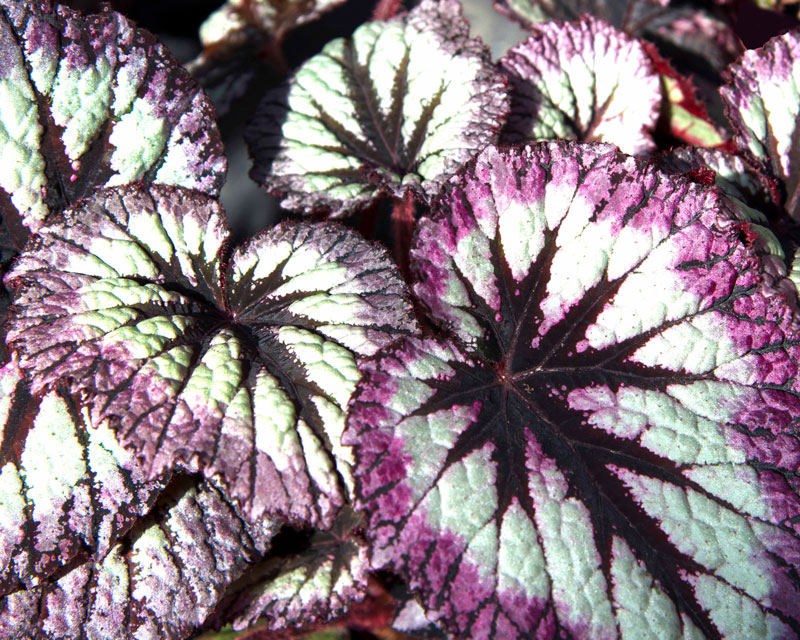
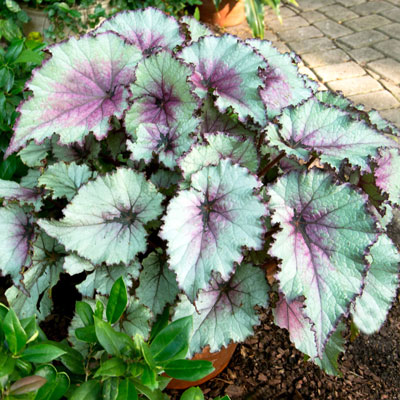
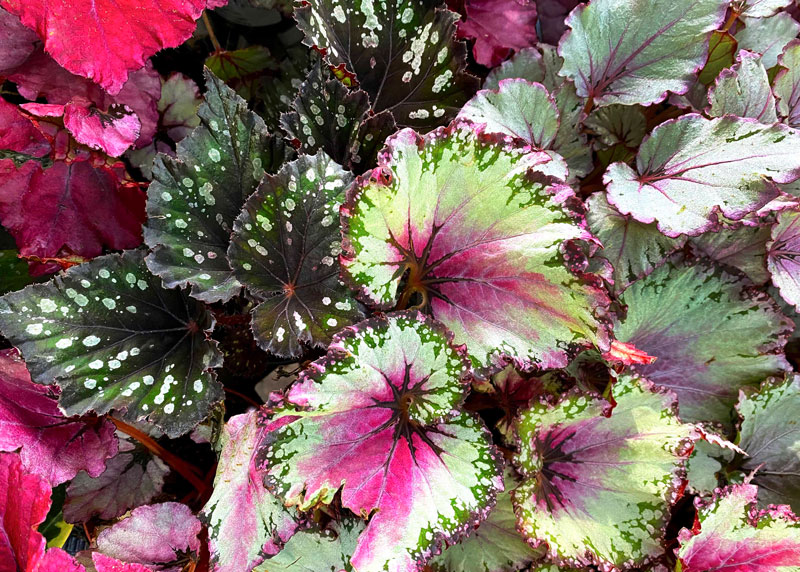
• Leaf colors: Endless array of jewel-like tones
• Leaf sizes: Ranging from 3-4 in. to dinnerplate-sized
• Growth form: Clumping or growing from short, stout rhizomatous stems

• Lighting preferences: In winter, bright light. In summer, bright shade, but not direct sunlight.
• Temperature range: Most do best at “people temperatures” (60-85F). Some will fade as temperatures climb higher than that. Some are tolerant of cooler temperatures.
• Potting soil preferences: I choose a loose, highly organic potting soil. In fact, I mix my own consisting of 50 percent sphagnum peat moss, 20 percent finely ground pine bark mulch and 15 percent each expanded shale and horticultural perlite.
• Fertilizer needs: I use a diluted, high-nitrogen, water-soluble food each time that I water.
• Watering: To prevent edge scorching, I try never to let my plants wilt. However, I also do not keep them soggy.
Interested in starting your own?
The easiest way is with leaf cuttings. Use a very sharp knife or single-edge razor blade to remove a healthy, full-sized leaf. Trim its petiole (“stem” of the leaf) to be only 1-inch long.
Use sharp shears to trim the leaf around its edges to be about half as large as it was originally.
Fill each pot with a mix of equal amounts of sphagnum peat moss and perlite and soak it thoroughly. Use a pencil to create insertion holes, one hole per leaf. Stick the leaf into the potting soil so that the base of the blade is barely covered by the soil. Firm the soil around the base of the cutting. Insert another leaf or two if you wish, then water the potting soil thoroughly.
Place the pot in a bright spot that’s out of direct sunlight. Cover it with dry cleaner’s plastic to hold humidity around the leaves as they form roots. When they offer slight resistance when you pull gently, it’s time to plant them into 4-inch pots. New plants will develop from the base of each cutting.


