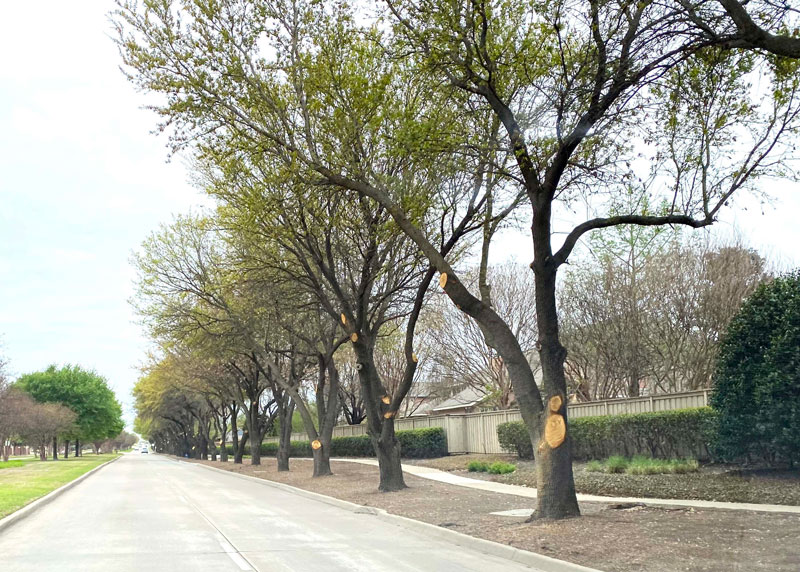
Garden Tip: Branch Collars
Your goal is to have all cut wounds on a branch heal as quickly as possible. That will happen when a roll of new bark can form across the cut surface.
• Make your cut at the edge of the “branch collar,” that is, where the branch starts swelling as it approaches the trunk (or other branch). That will leave the minimum surface area across which the new bark will have to grow.
• However, you don’t want to come out on the branch any farther than necessary, because the stub of the removed branch will decay if it’s exposed to the weather too long. That decay will spread up and down inside the trunk. You risk losing the tree entirely.

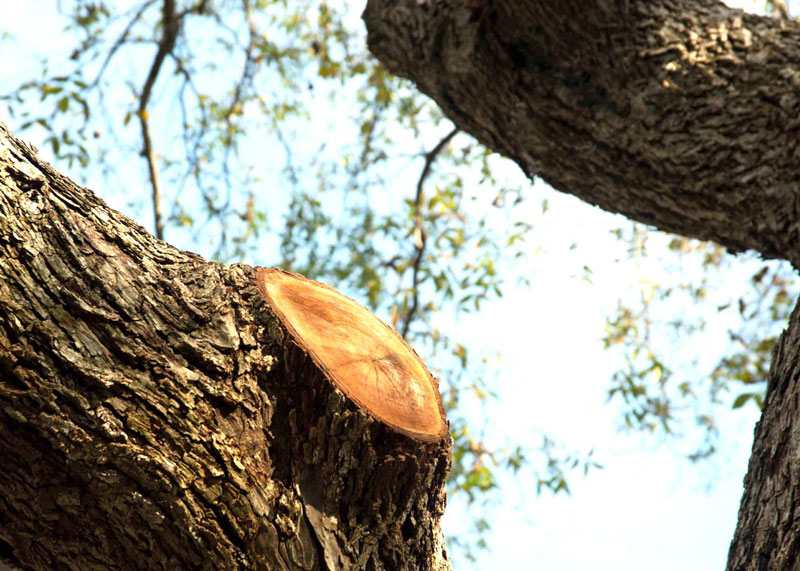
Now let’s go back and talk about that much larger branch that was removed by Arborilogical Services of DFW. Let’s see how it has started to heal.
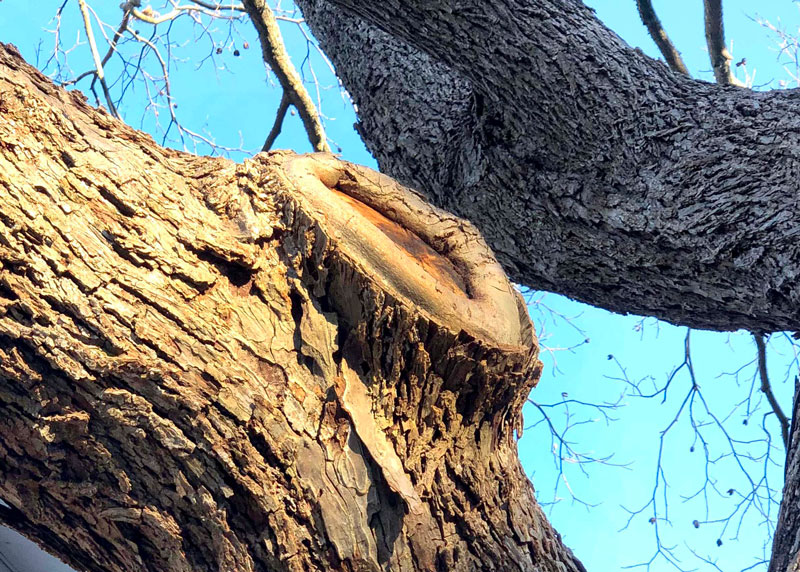
Some special notes of importance…
• This type of limb removal can be done pretty much year ‘round except with oaks. The oak wilt fungus is active in spring and early summer, so pathologists and certified arborists strongly advise us not to prune oaks between mid-February and mid-July. Any other time is fine.
• Pruning sealant is rarely advised for other species, but it always is for oaks anytime you’re removing a limb larger than 3/4-inch in diameter.
If removing a large branch, use the 3-step approach:
1. Make an undercut in the bottom of the branch one-third of the way through the bottom up. Stop before your saw gets caught in a bind. This cut should be 14 to 16 inches out from the trunk.
2. Move your saw 2 or 3 inches farther out on the branch. Make the second cut all the way through the branch from the top down. The weight of the branch will cause it to crack and split the bark on the bottom of the limb. It will only split to the undercut, saving the main trunk from serious damage.
3. The third and final cut should be back to the branch collar. With most of the weight of the branch already on the ground, there should be no damage from peeling.